Updated 8 min read
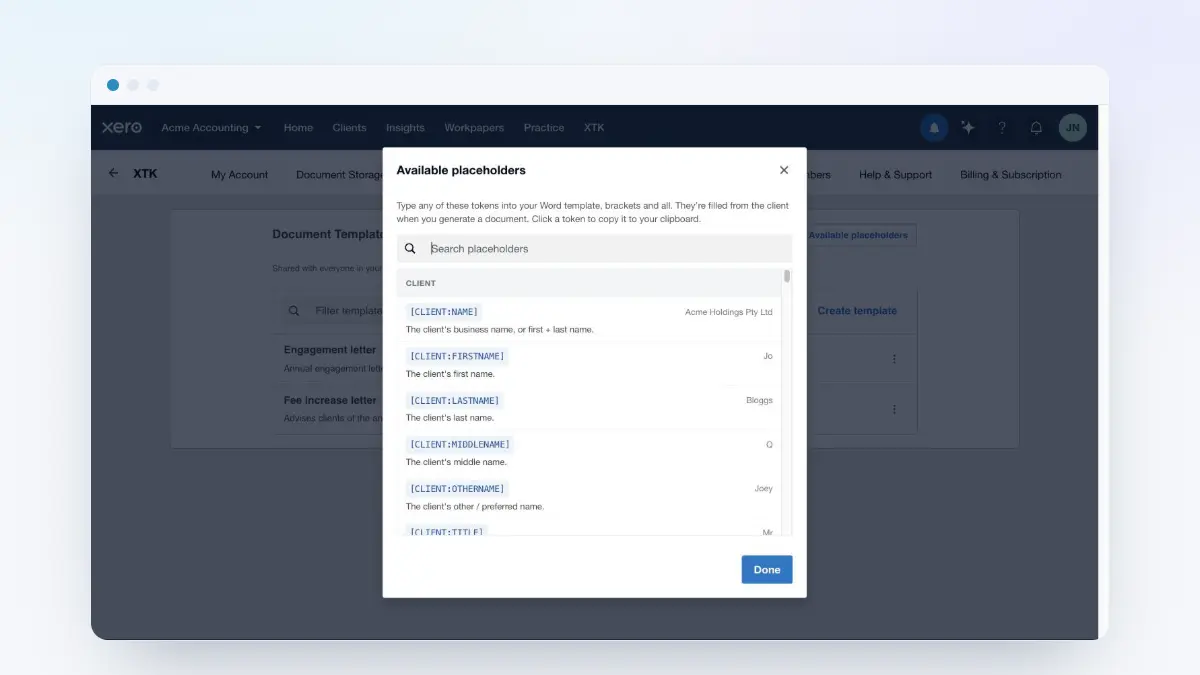
Email templates: write once, reuse for invites and requests
An email template in XTK is a saved draft — a name, a subject and a markdown body — that your whole practice shares. Write your portal invite or records-request wording once and it's there in a dropdown every time anyone on your team emails a client from Xero Practice Manager (XPM). Drop in a template variable like {{portal_invite_url}} and XTK fills the client's own secure link in at send time.
XTK is an independent product and is not affiliated with or endorsed by Xero Limited.
Where do email templates get used?
- Client portal invites — the email that gives a client access to their portal. These always send from a template.
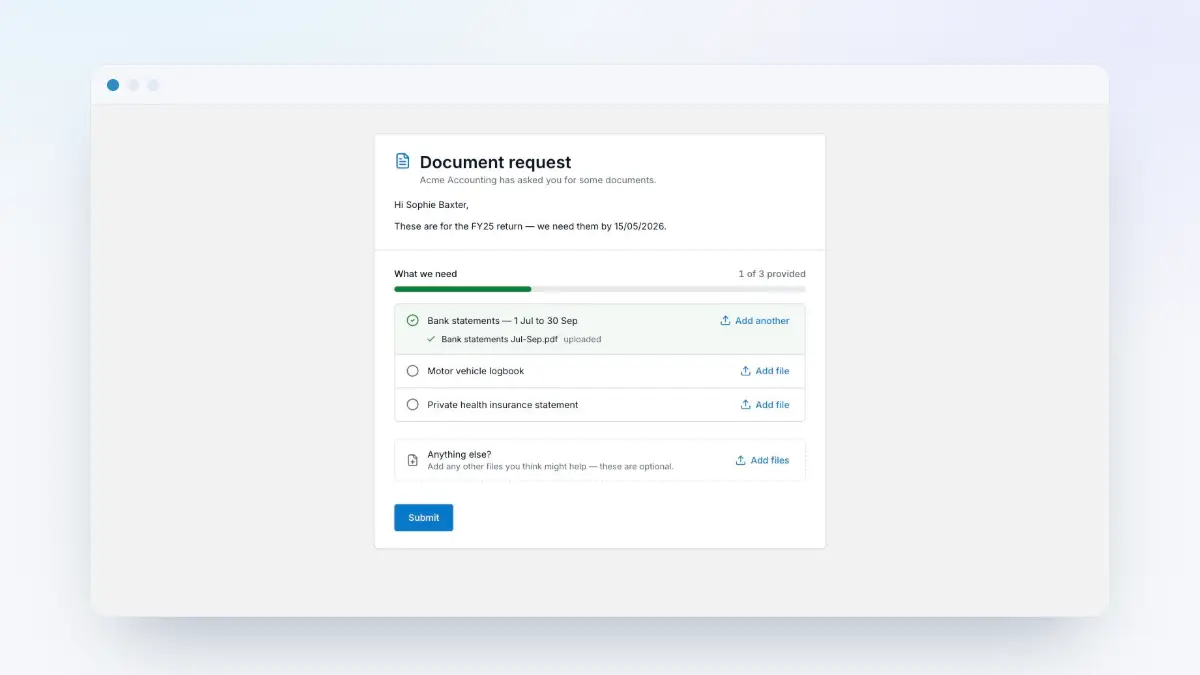
- Document requests — the checklist link a client uses to upload records. Here a template is optional; XTK has sensible default wording.
That's the full list today. E-signature emails are composed on the signing page and offer no template picker, and system mail like verification or team invites uses XTK's own fixed wording.
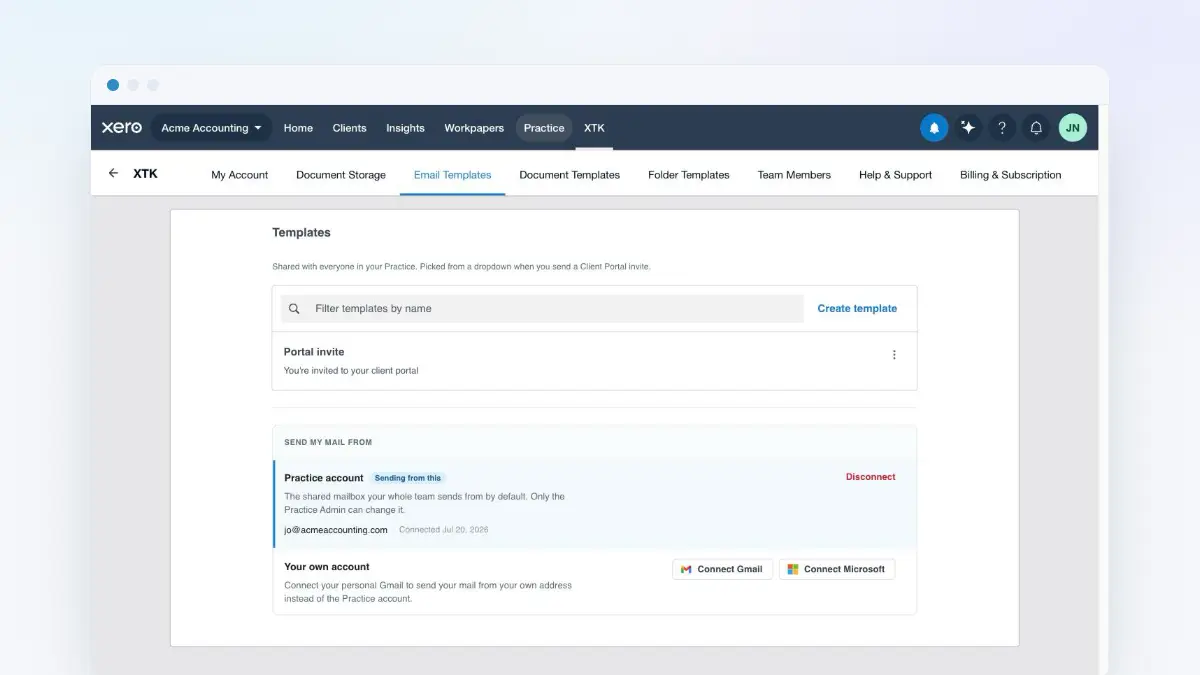
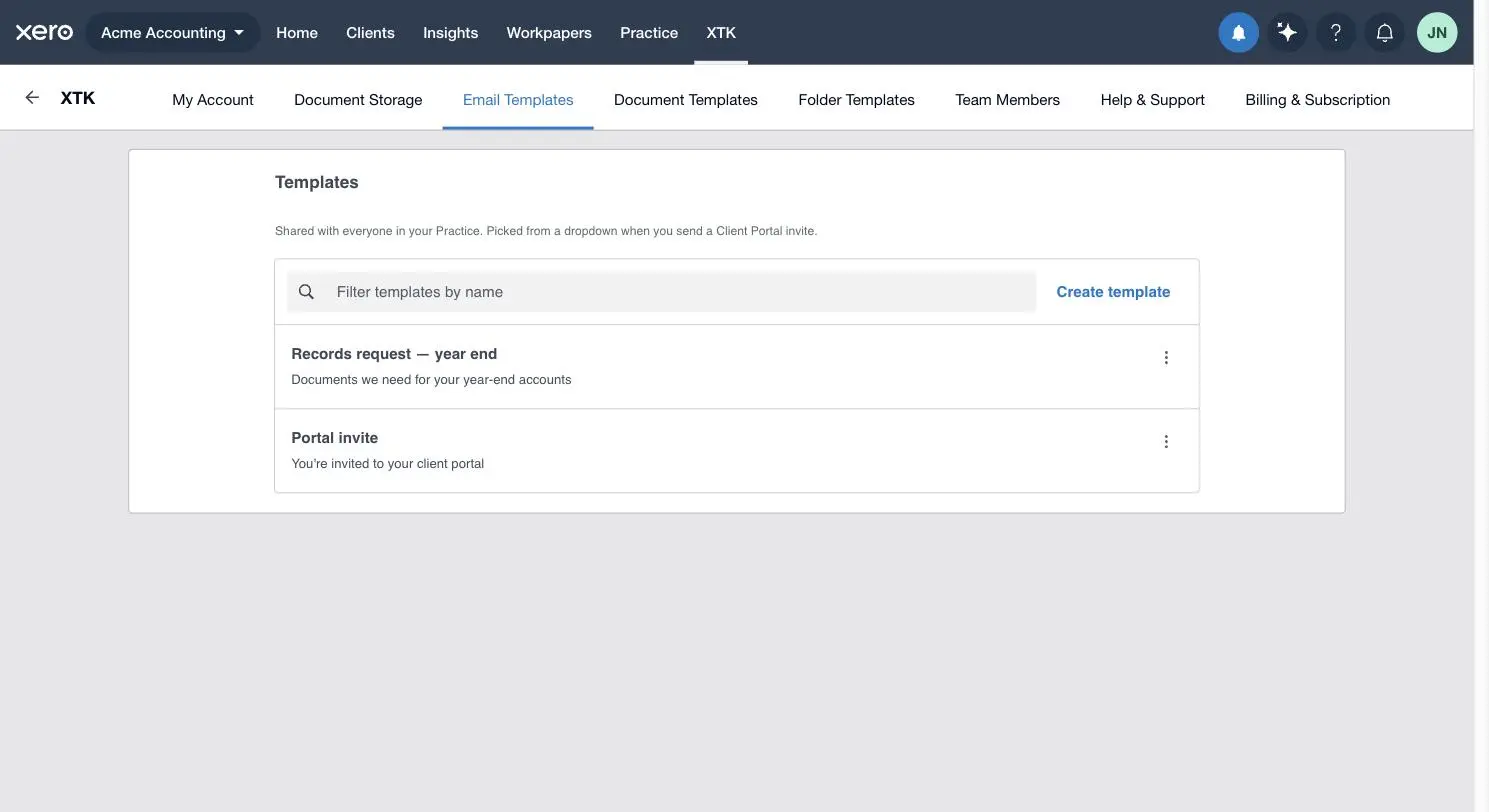
Templates live in the XTK panel under the “Email Templates” tab — the same tab as the “Send my mail from” section. Every practice starts with one ready-made template called “Portal invite”, so invites work on day one.
How do I create an email template?
Open the Email Templates tab
In Practice Manager, click “XTK” in the main navigation to open the panel, then choose the “Email Templates” tab.
Click “Create template”
It sits beside the “Filter templates by name” box. The list is replaced by the editor, headed “New template”.
Name it for your team
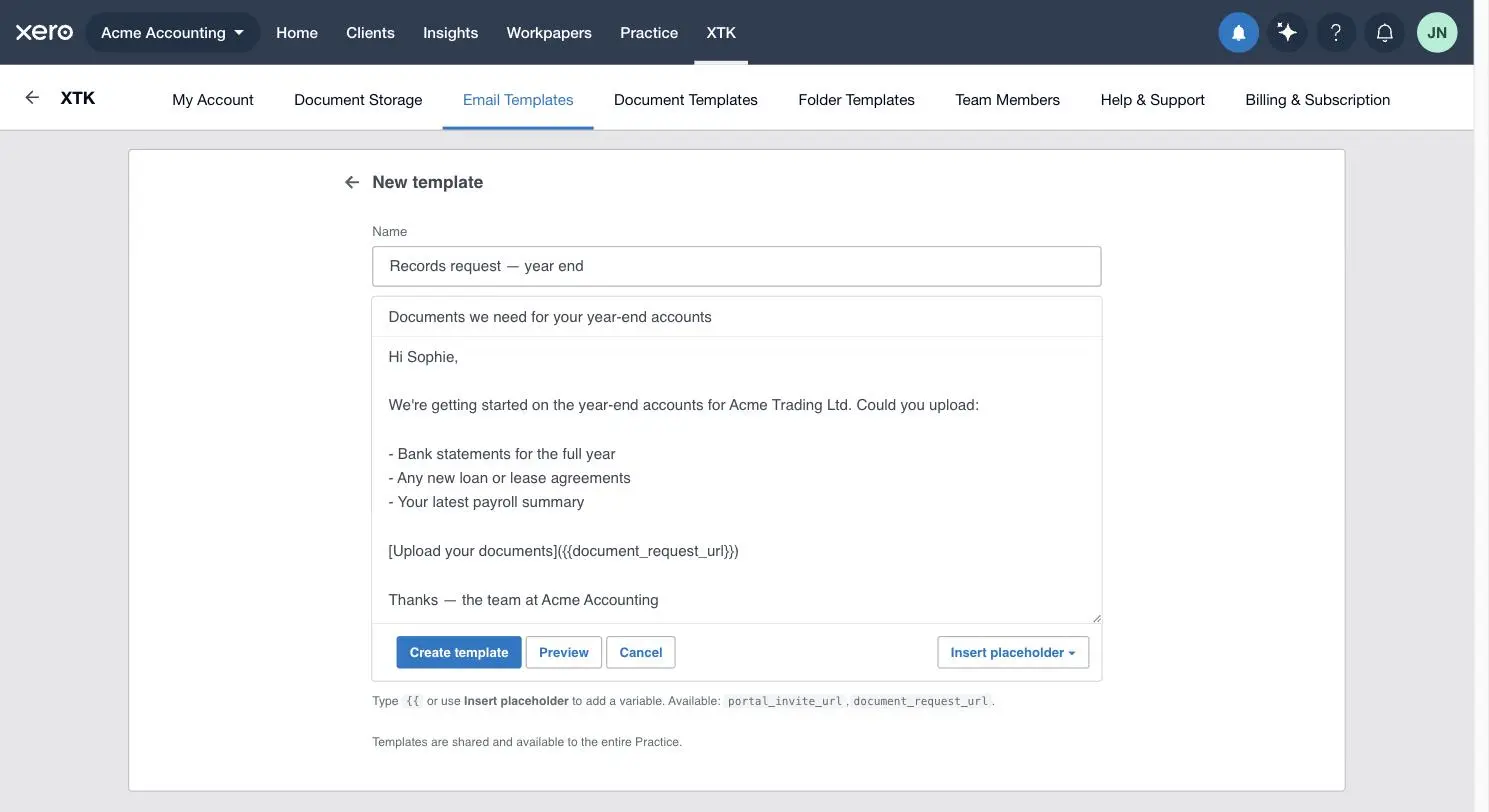
The “Name” field is the only required one, and it's what everyone sees in the dropdown later — “Portal invite”, “Records request — year end”. Clients never see it.
Write the subject and body
Type the subject into the top field and your message into the larger “Body (markdown)” field underneath. Both accept template variables.
Click “Create template” to save
You're returned to the list and the template is immediately available to everyone in your practice — a line under the editor says exactly that.
Template variables: the links XTK fills in
A template variable is a {{name}} placeholder XTK swaps for a real value when the email is sent. There are exactly two, both links, and the catalogue is fixed — you can reference them, but you can't invent new ones:
| Template Variable | What it becomes | Used when you send |
|---|---|---|
{{portal_invite_url}} | That contact's personal, single-use portal invite link | A client portal invite |
{{document_request_url}} | The secure upload link for that particular request | A document request |
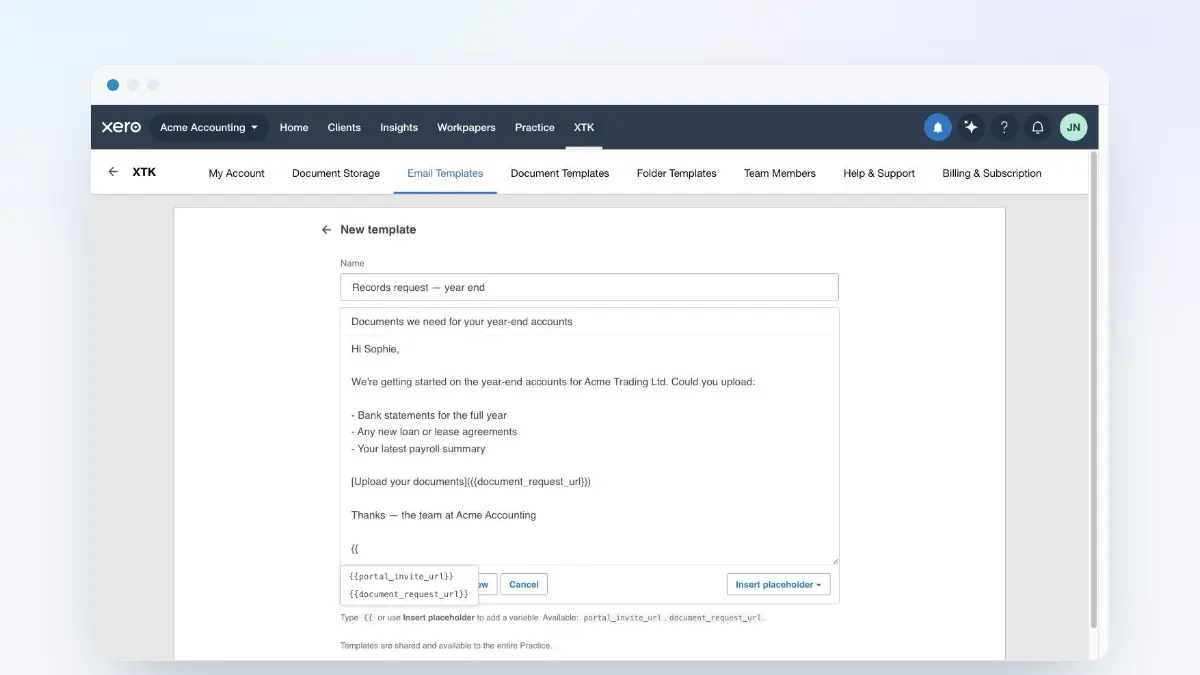
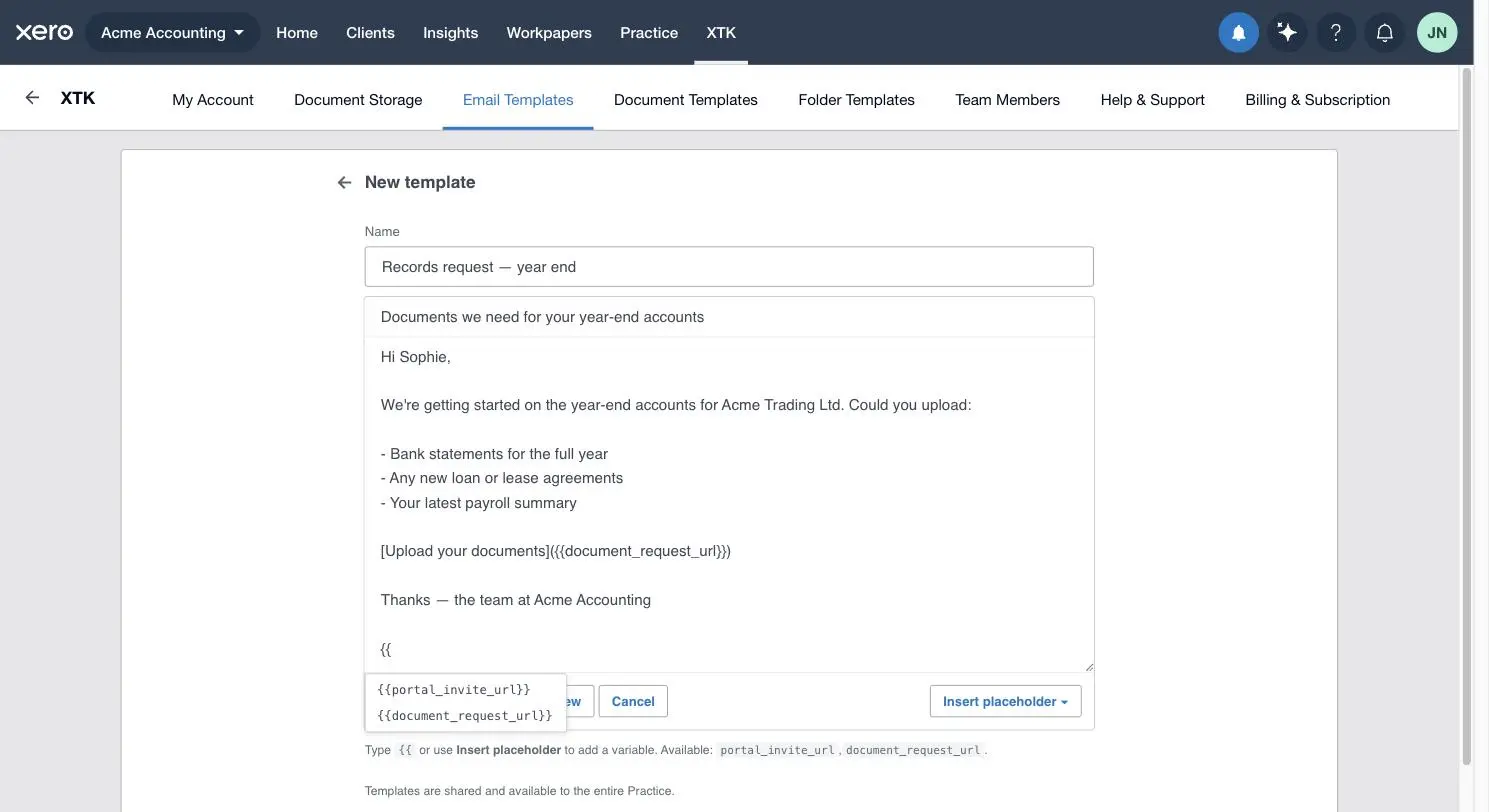
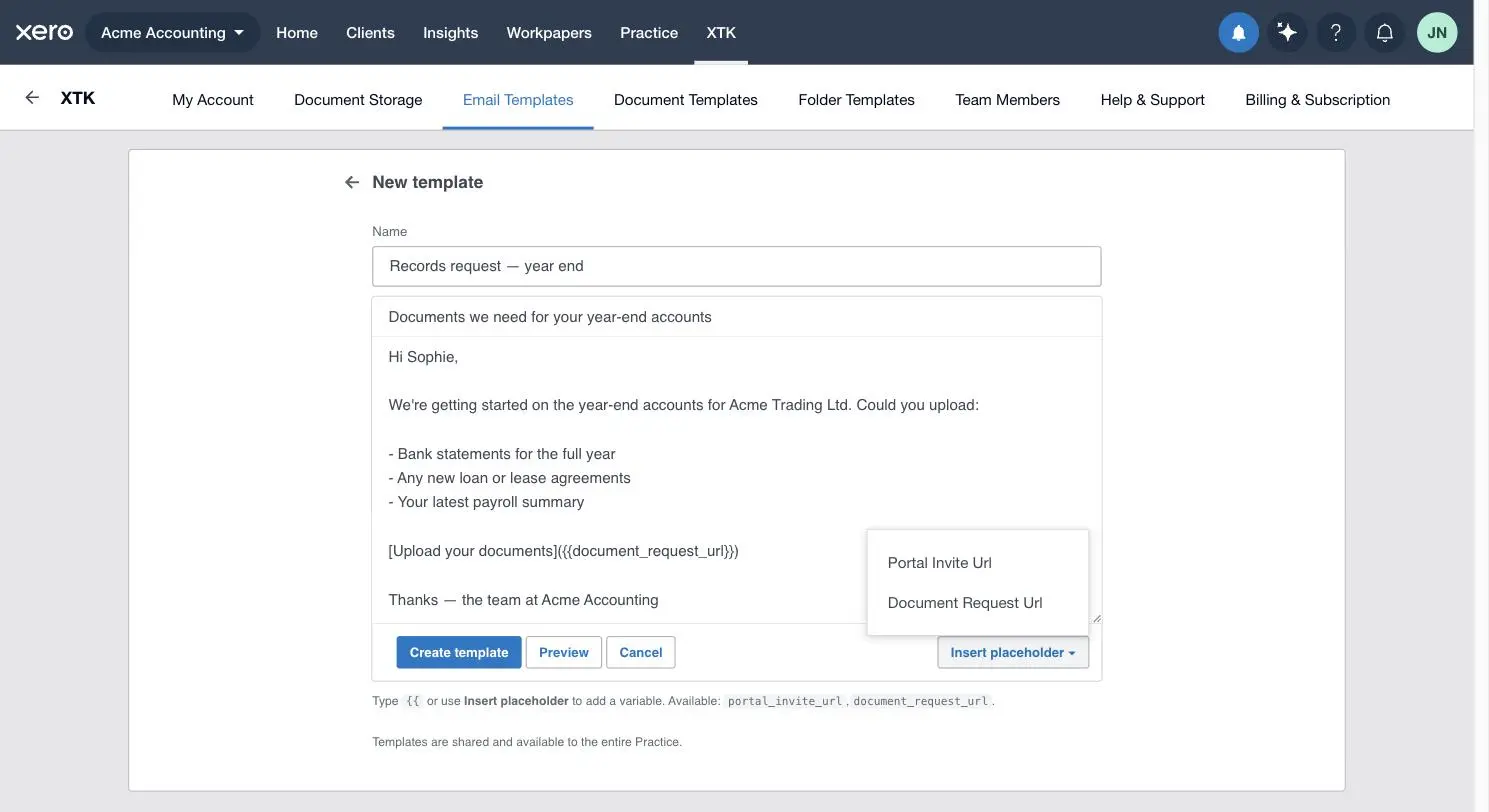
Two ways to get one into your text. Type two opening braces anywhere in the subject or body and a list of matching variables appears under the field; click one and XTK completes the token, closing braces included. Or click “Insert placeholder ▾” in the editor's footer and pick from the menu, which lists the same two under friendly names.
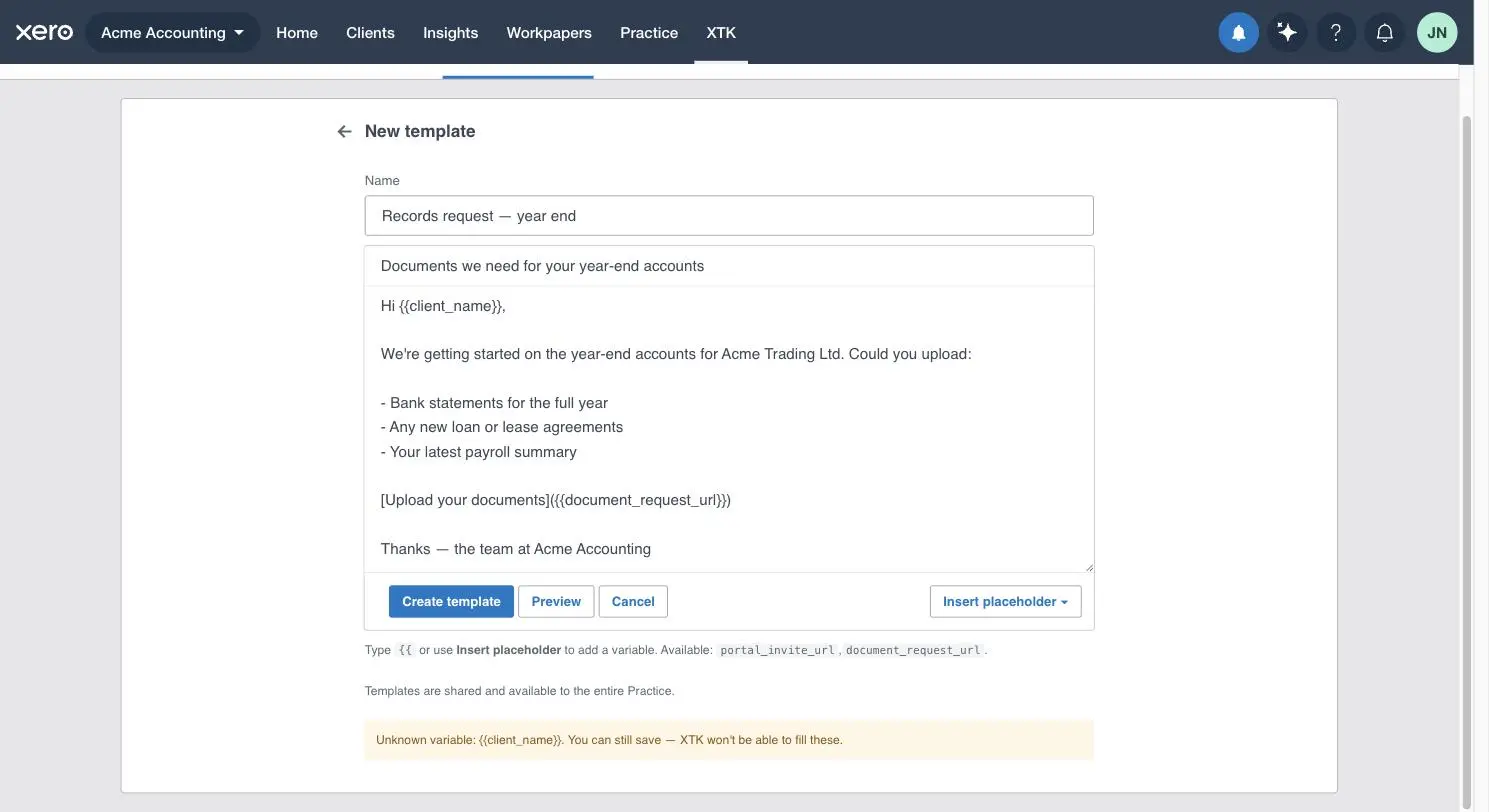
Mistype a variable and nothing breaks. XTK checks as you type and shows an amber line — “Unknown variable: {{client_name}}. You can still save — XTK won't be able to fill these.” Save anyway if you like; the text travels to the client exactly as written. It's a typo catcher, not a block.
What formatting can I use in the body?
The body is markdown, and XTK converts it to a tidy HTML email on the way out. A useful subset is supported:
- Paragraphs — a blank line starts a new one; a single line break stays a line break.
- Bold with two asterisks either side, italics with one.
- Bullet lists with “-” or “*” and numbered lists with “1.” — ideal for spelling out what you need from a client.
- Headings with one to three “#” characters, quotes with “>”, and a horizontal rule from three dashes.
- Links as square brackets around the text then the URL in round brackets, variables included: [Open your portal]({{portal_invite_url}}).
Anything else — images, tables, code blocks, raw HTML — appears as plain text. And a bare link pasted on its own line stays plain text rather than becoming clickable, so wrap links in the square-bracket form above.
How do I preview the email?
Click “Preview” in the editor's footer at any point — you don't have to save first. XTK renders what's on screen through the same branded layout your clients receive, with the subject above it. That's not a lookalike: preview and send call the same renderer on the server, so what you see can't drift from what goes out.
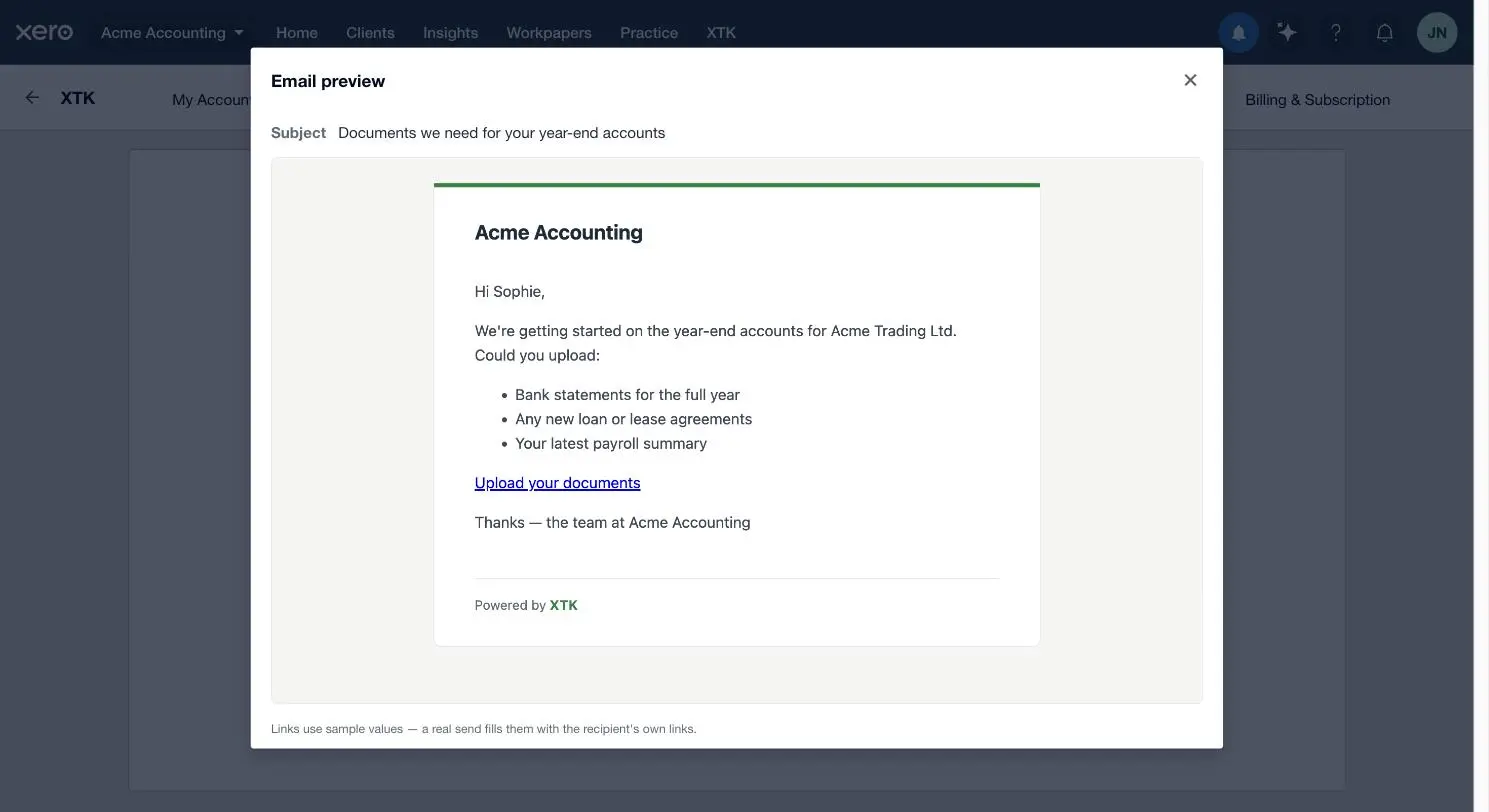
Links are the one exception. There's no real invite or request behind a preview, so variables are filled with obvious sample URLs and the dialog says so: links use sample values, and a real send fills them with the recipient's own links.
The “Portal invite” starter template
Every practice is created with one template already in the list, named “Portal invite”, subject “You're invited to your client portal”. Its body is deliberately plain — five short lines:
- Hi,
- You've been invited to your secure client portal, where you can view and exchange documents with us.
- Click the link below to get started:
- {{portal_invite_url}}
- If you have any questions, just reply to this email.
It exists so nobody hits a dead end on their first invite, and it's an ordinary template otherwise — edit it to sound like your practice, rename it, or delete it once you've written your own. It is the one XTK pre-selects in the invite picker, so keeping the name is a small convenience.
Picking a template when you send
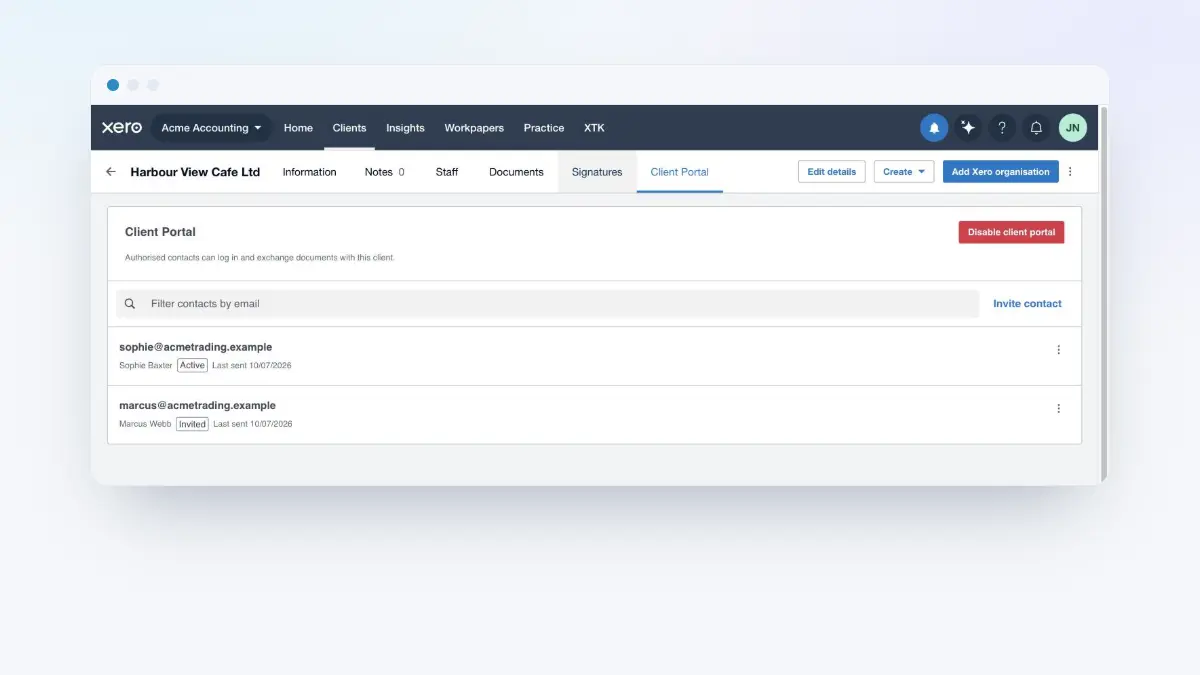
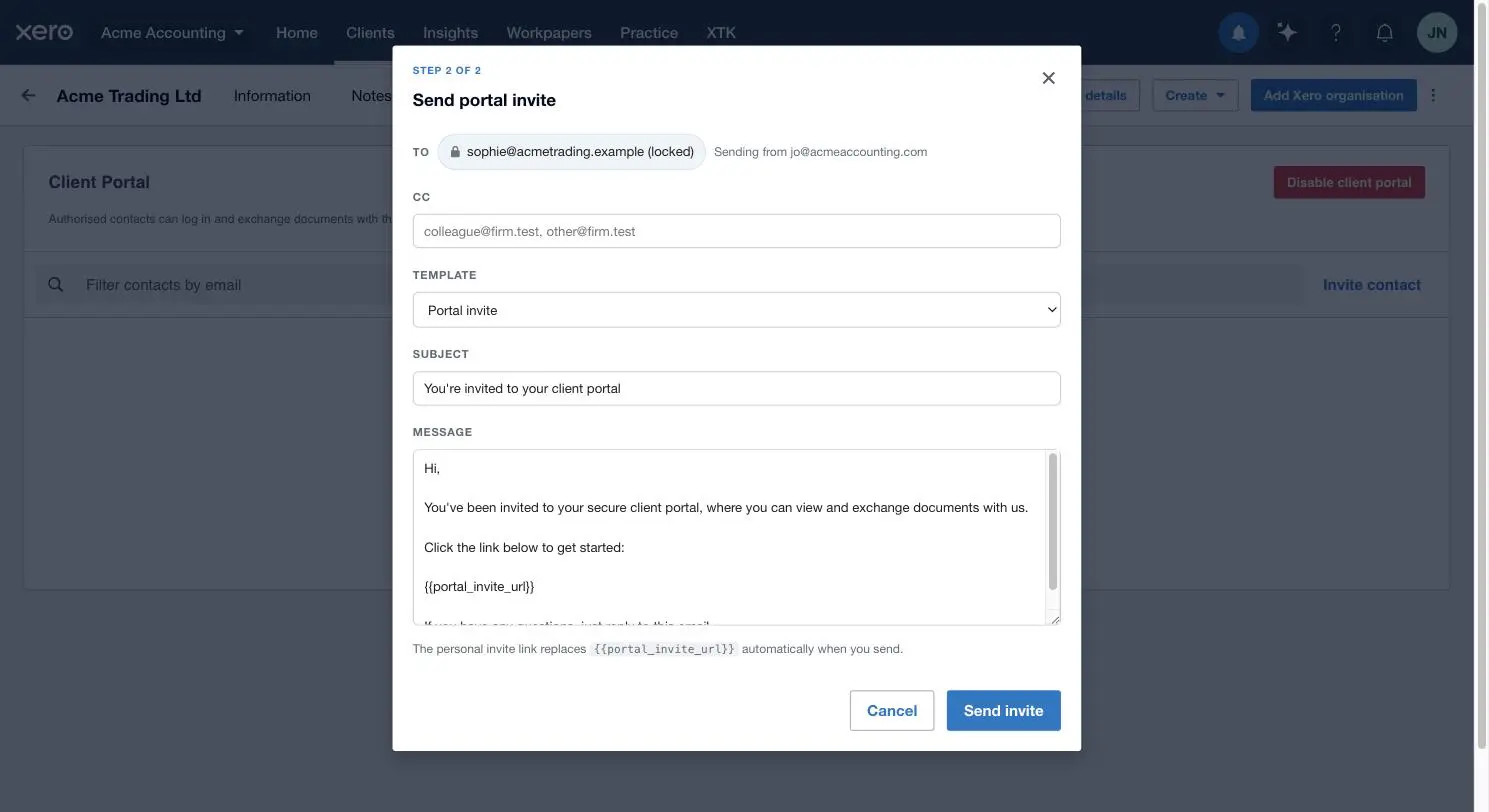
For a client portal invite, open the client's “Client Portal” tab and start an invite for a contact. The compose box carries a “Template” dropdown; XTK pre-selects “Portal invite” and fills the subject and message from it. The message keeps the literal {{portal_invite_url}}, with a note underneath explaining that the personal invite link replaces it automatically when you send — and that is the same whether the contact is new or you're re-inviting someone. XTK cannot show you the finished link beforehand, by design: it keeps only a fingerprint of each invite link, never the link itself, so nobody reading the database can let themselves into your client's documents. The recipient is locked to the contact's own address — subject, message and CC are yours to adjust.
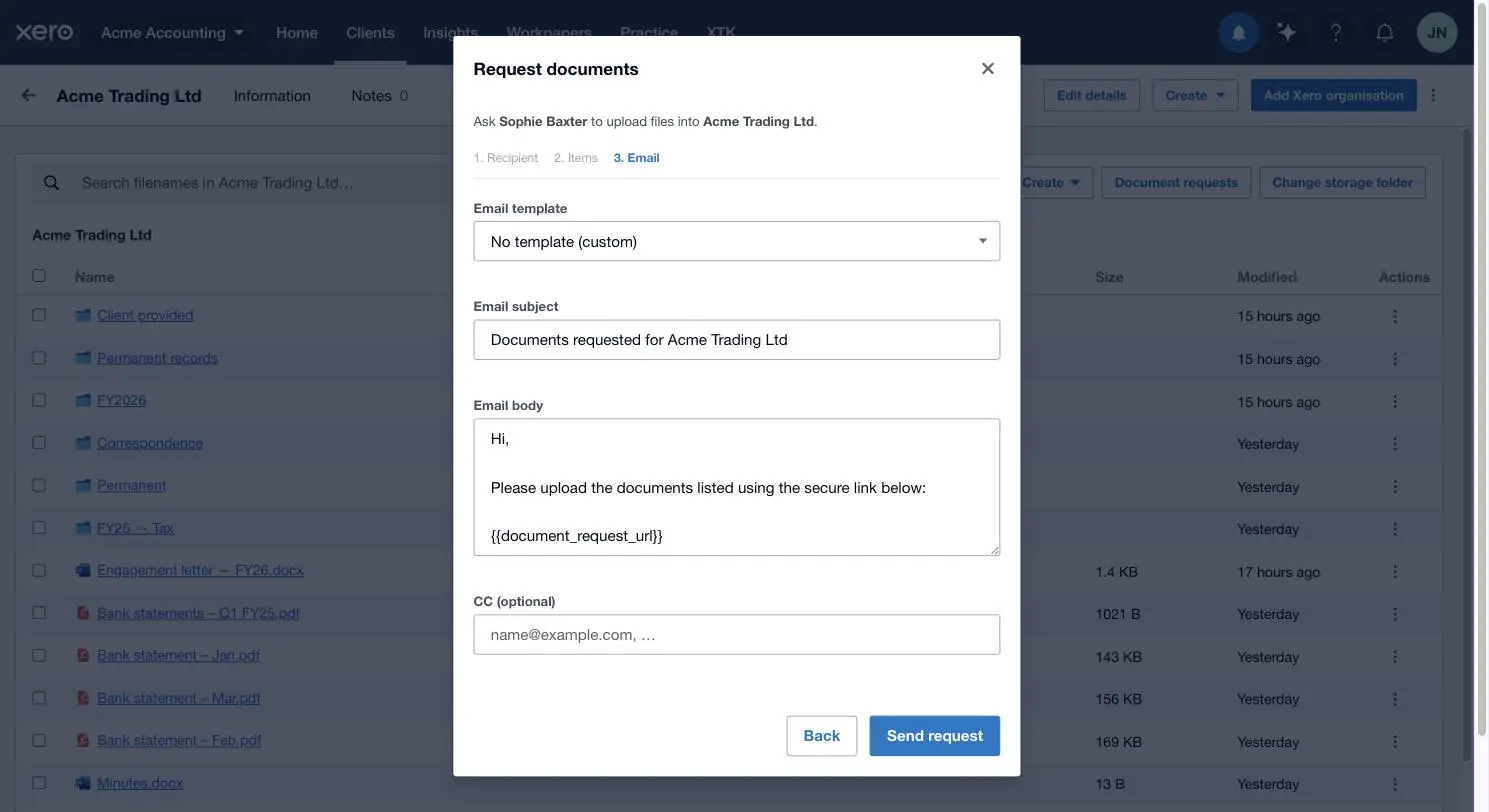
For a document request, go to the client's Documents tab, choose “Create ▾ → Request documents”, and the final step has an “Email template” dropdown. This one starts on “No template (custom)” with XTK's own wording; choosing a template replaces the subject and body with yours.
Editing and deleting templates
Click a row to reopen it in the editor — the heading becomes “Edit template” and the button “Save changes”. The three-dot menu at the right of each row does the same via “Edit”, and offers “Delete”. Newest templates sit at the top, and the box above filters by name as the list grows.
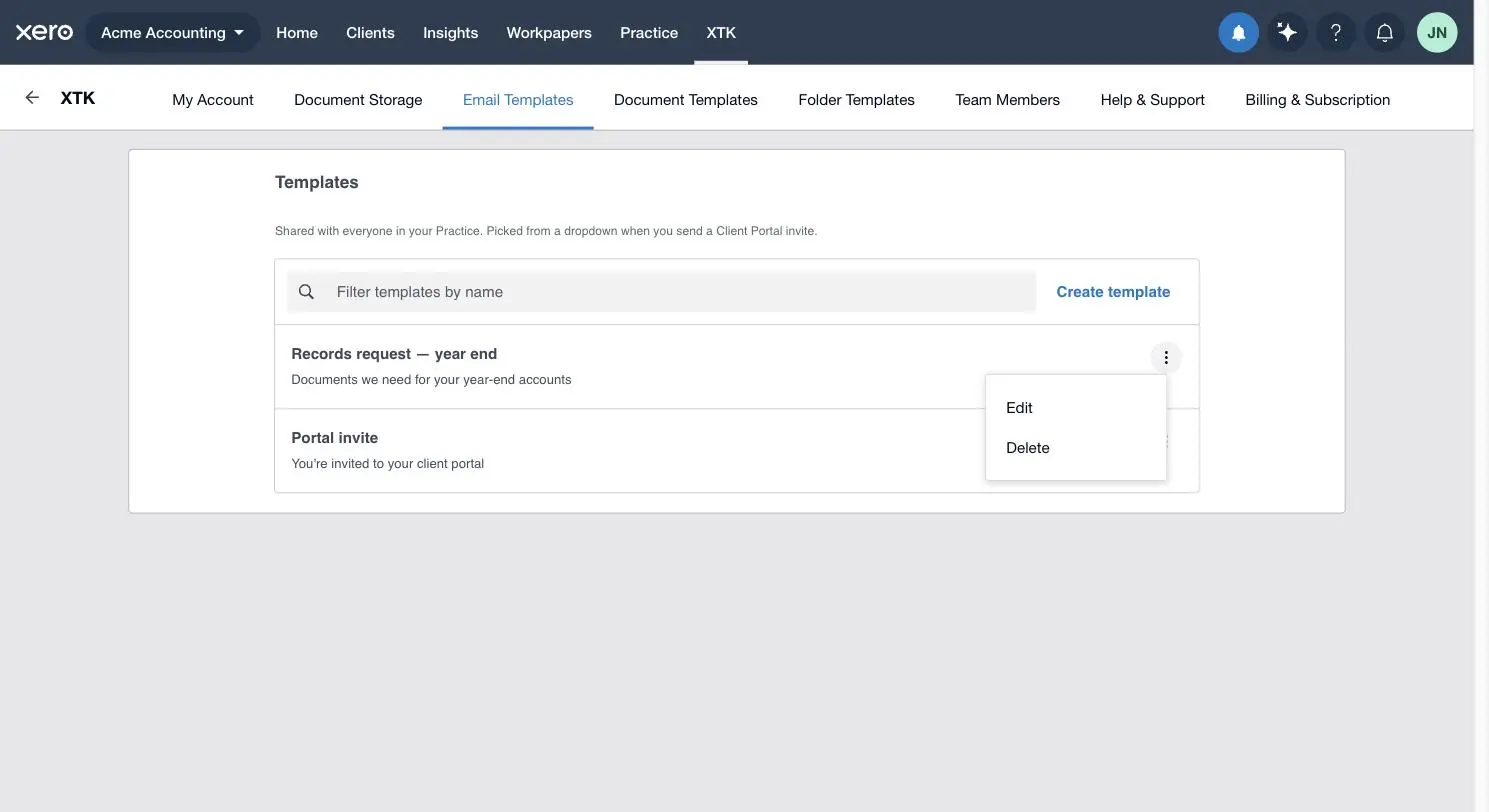
Deleting asks you to confirm — “Delete the … template? This can't be undone.” — and removes it for the whole practice. Emails already sent are unaffected: the wording was copied into each message when it left, so nothing changes retrospectively. What you lose is the entry in the picker. Because a portal invite can only be sent from a template, keep at least one invite template.
Tips from practice
- Say the purpose in the name — “Portal invite”, “Records request — BAS”, “Records request — year end”.
- Use a bullet list for anything you're asking a client to do; it reads far better on a phone than a long paragraph.
- Agree changes with your team first: everyone sends from the same list, so your rewrite is theirs too.
Where next
Templates earn their keep on the two client-facing flows below: sending a document request to collect records, and setting up a client portal. And if you haven't connected a mailbox yet, do that first so your templates go out under your own name.
Frequently asked questions
Who can create and edit email templates?
Everyone on your team. Email templates are shared across the whole practice — any member or admin can create, edit and delete them, and everyone picks from the same list. There is no Admin-only gate. The one restriction is billing: while your practice is read-only, “Create template”, “Edit” and “Delete” are greyed out with a tooltip explaining why, though reading and previewing existing templates still works.
What template variables does XTK support?
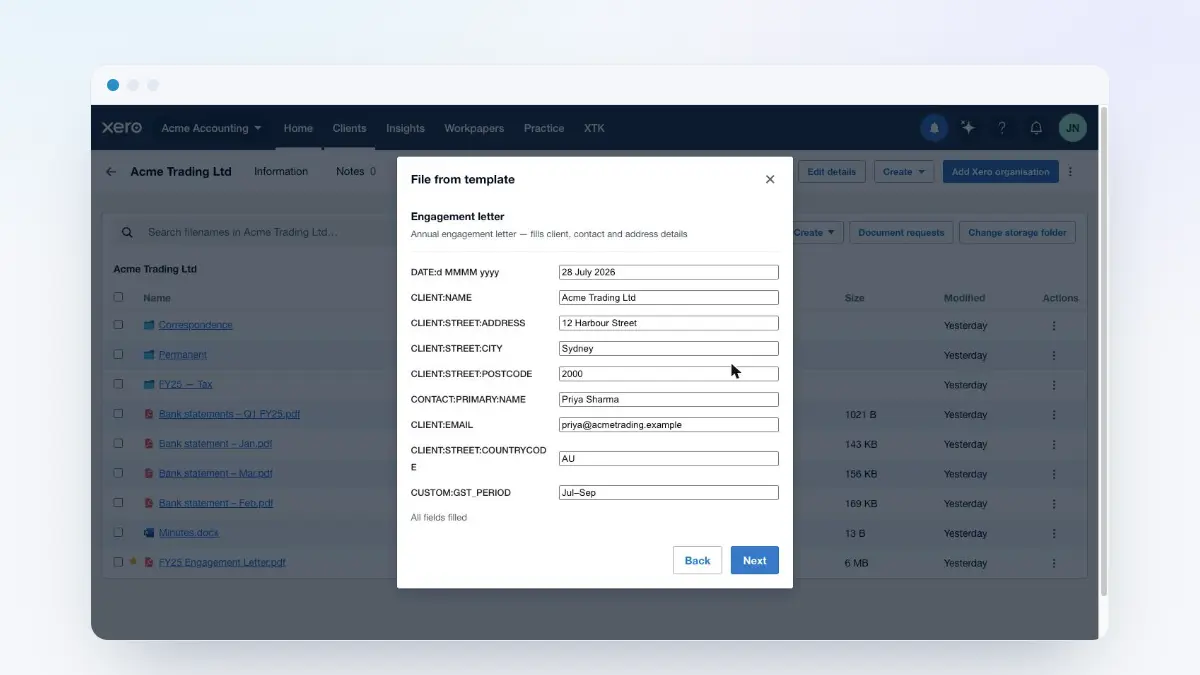
Exactly two: {{portal_invite_url}}, which becomes the client's personal client portal invite link, and {{document_request_url}}, which becomes the secure upload link for a document request. The catalogue is defined in XTK's code and can't be extended, so there are no client-name or date variables yet — type those into the compose box before you send instead.
Can I use one template for both portal invites and document requests?
You can pick any template on either surface, but the two links are different variables, so a template written around {{portal_invite_url}} only makes sense as an invite and one written around {{document_request_url}} only as a request. Keep one template per purpose and name them so your team can tell them apart at a glance.
Does the preview show exactly what my client receives?
Yes, structurally. The preview asks XTK's server to render your unsaved subject and body through the very same branded email layout the real send uses, so wording, formatting and header cannot drift from the sent message. The only difference is the links: the preview substitutes obvious sample URLs, because there's no real invite or request to point at yet.
What happens if I delete a template we've been using?
Emails already sent are untouched — the wording was copied into each message when it went out, and nothing points back at the template afterwards, so no client's link stops working. Deleting only removes it from the picker for future sends, for the whole practice, and it can't be undone. One caution: portal invites always send from a template, so don't delete your last one.