Updated 5 min read
Getting started with XTK — Xero Practice Manager extension
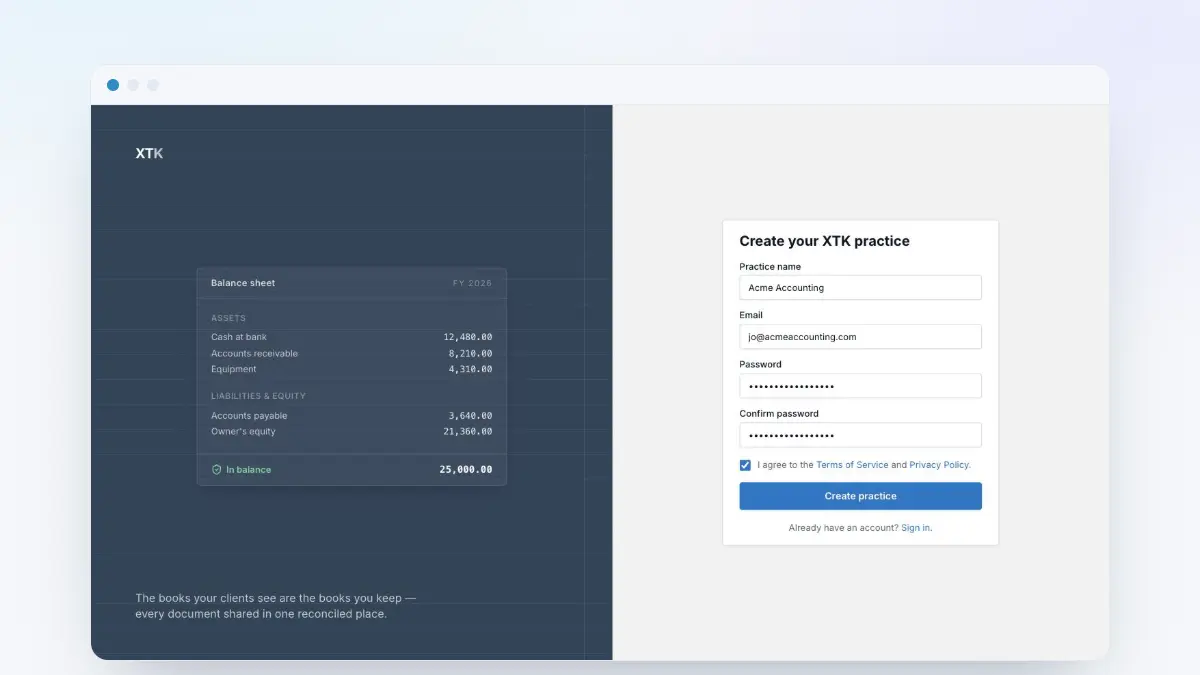
XTK is a browser extension for Chrome and Firefox that adds document management, e-signatures, document requests and a client portal to Xero Practice Manager (XPM) — with every file stored in your practice's own Google Drive, OneDrive or SharePoint. This guide shows you how to install the extension, register your practice and find your way around the XTK tools that appear inside Practice Manager. Setup takes about ten minutes, and your 30-day free trial only starts once you verify your email.
XTK is an independent product and is not affiliated with or endorsed by Xero Limited. It works alongside your existing Practice Manager login — there is nothing to set up on the Xero side.
What is XTK?
Once installed, XTK lives entirely inside Practice Manager. On every client you'll see three new tabs — Documents, Signatures and Client Portal — where you organise files, send documents for e-signature, request records from clients and share files securely through a portal. Behind the scenes your files stay in your own cloud storage: XTK never copies them to its servers.
Install the extension
Open the store listing
Open the XTK listing for your browser — the Chrome Web Store or Firefox Add-ons. Both buttons are also on the Get started page.
Add it to your browser
Click Add to Chrome (or Add to Firefox) and confirm. The XTK icon appears in your browser toolbar.
Land on the sign-in page
Right after installing, the extension opens the XTK sign-in page in a new tab. If your practice already uses XTK, sign in here and skip ahead to the tour below — otherwise carry on to registration.
Register your practice
Open the registration form
On the sign-in page, click Create one under “No account yet?”. You can also reach it any time at the XTK web portal's /register page.
Fill in your practice details
Enter your practice name, your email address, and a password of at least 8 characters (twice).
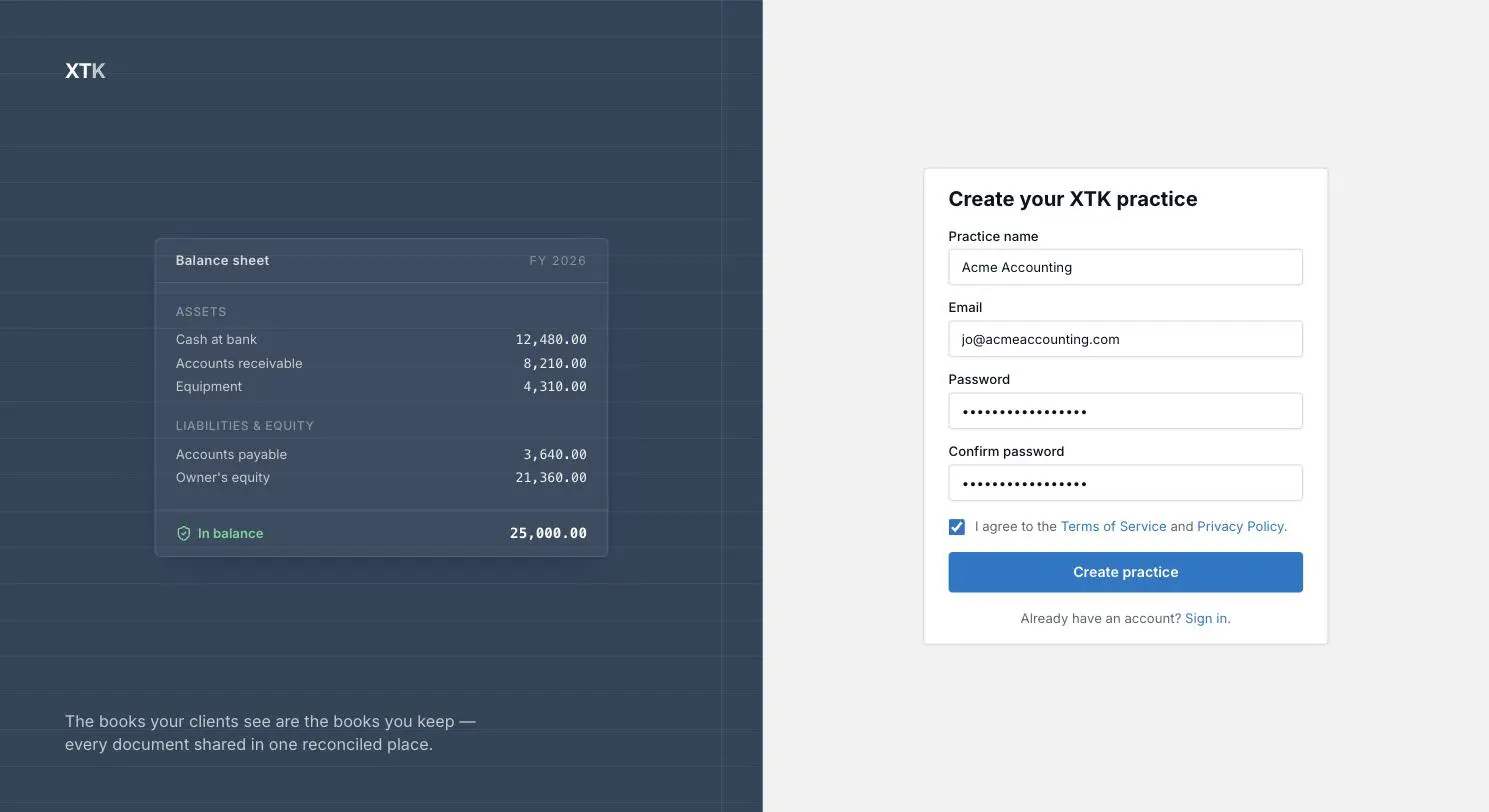
Accept the terms and submit
Tick “I agree to the Terms of Service and Privacy Policy”, then click Create practice.
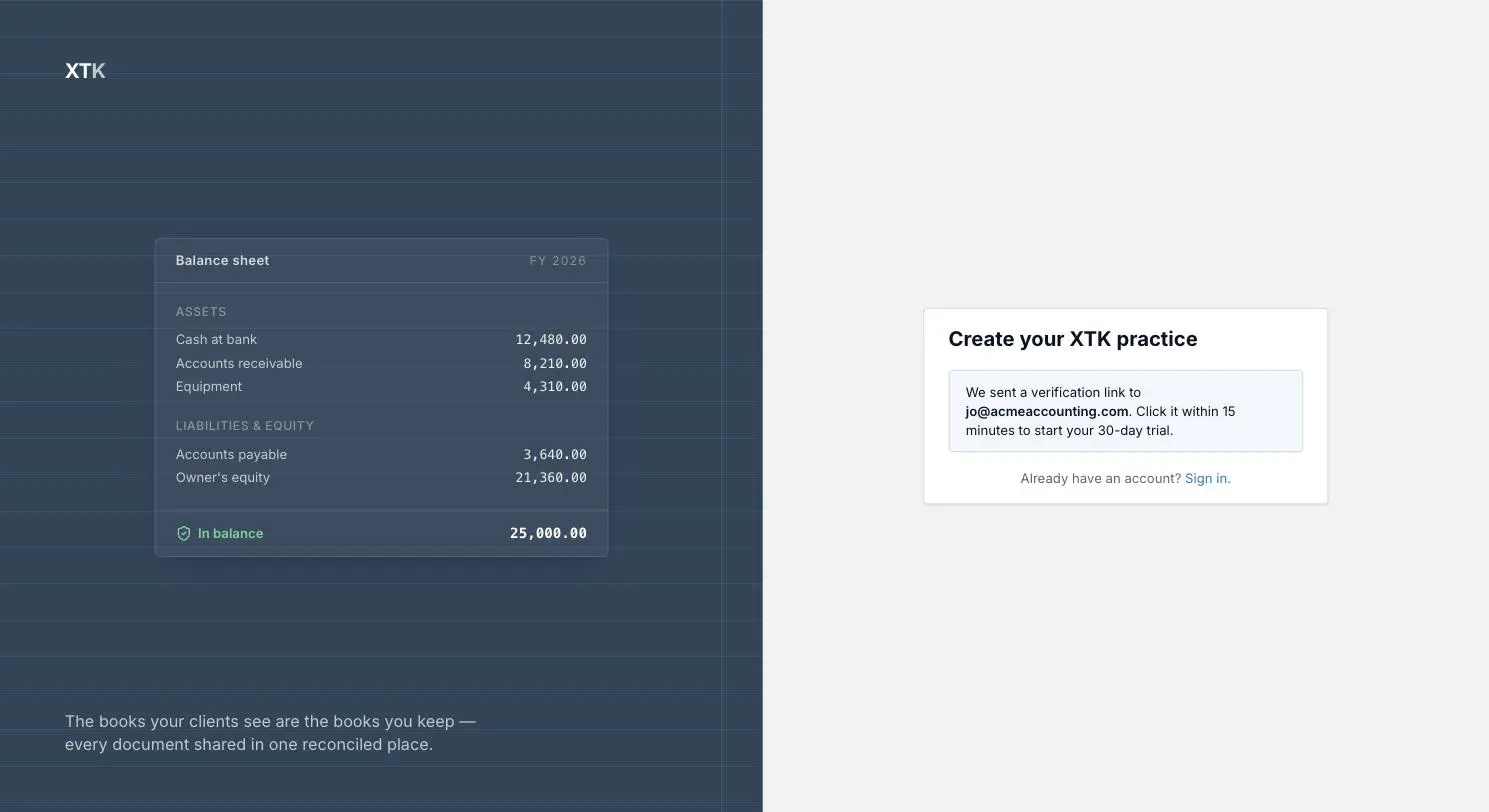
Check your inbox
XTK confirms it has sent you a verification link. Click the link in the email within 15 minutes.
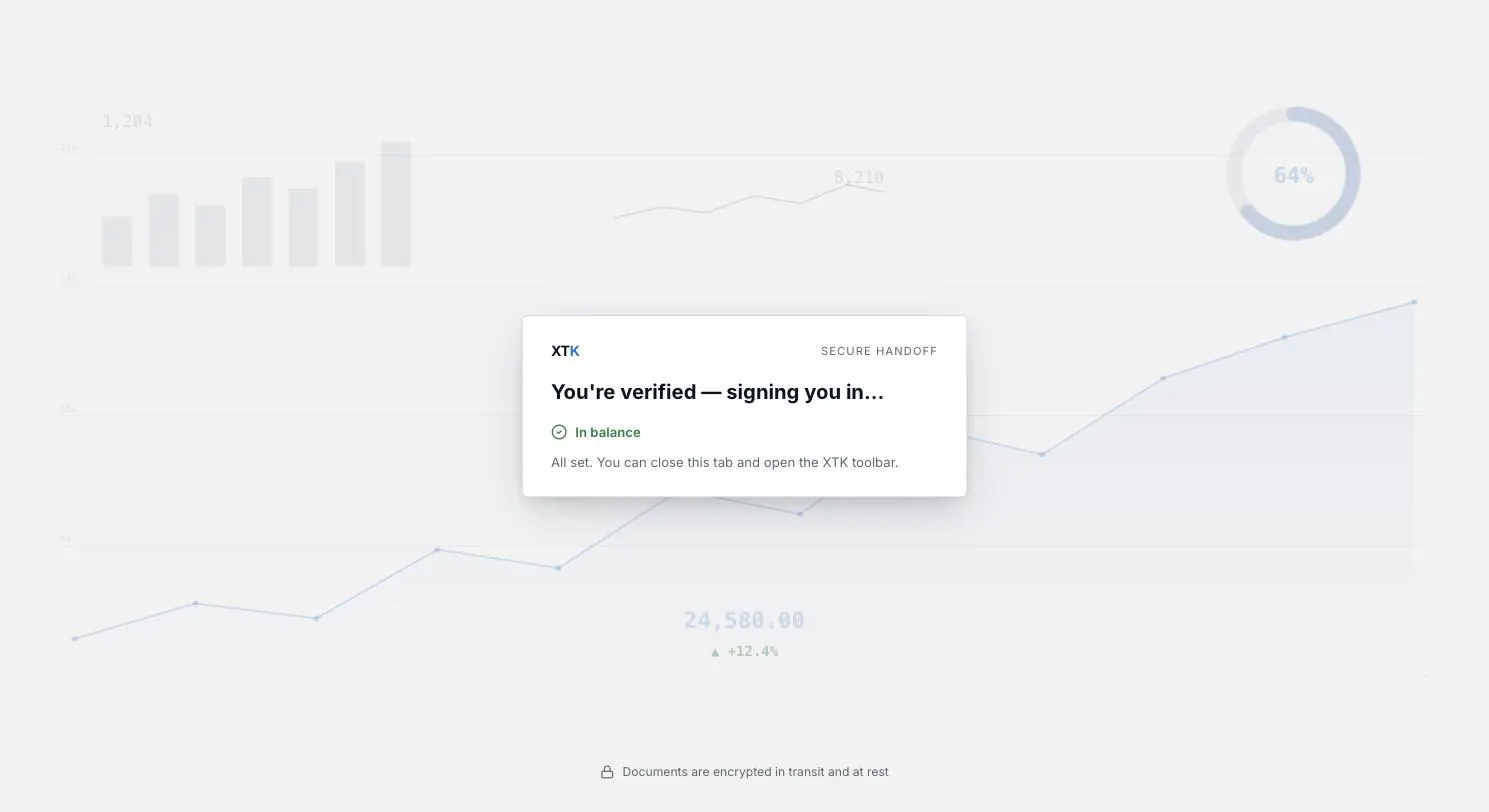
Verify your email — your trial starts here
The verification link signs you in and hands your session straight to the extension. When you see “All set. You can close this tab and open the XTK toolbar.”, you're done — there is nothing else to configure in the browser.
Take your first look inside Practice Manager
Open Practice Manager at practicemanager.xero.com (or refresh the tab if it was already open). XTK appears automatically in four places:
- The XTK banner sits at the very top of every page and shows your trial status — for example “Trial — 30 days left” — with an Upgrade button for the Admin.
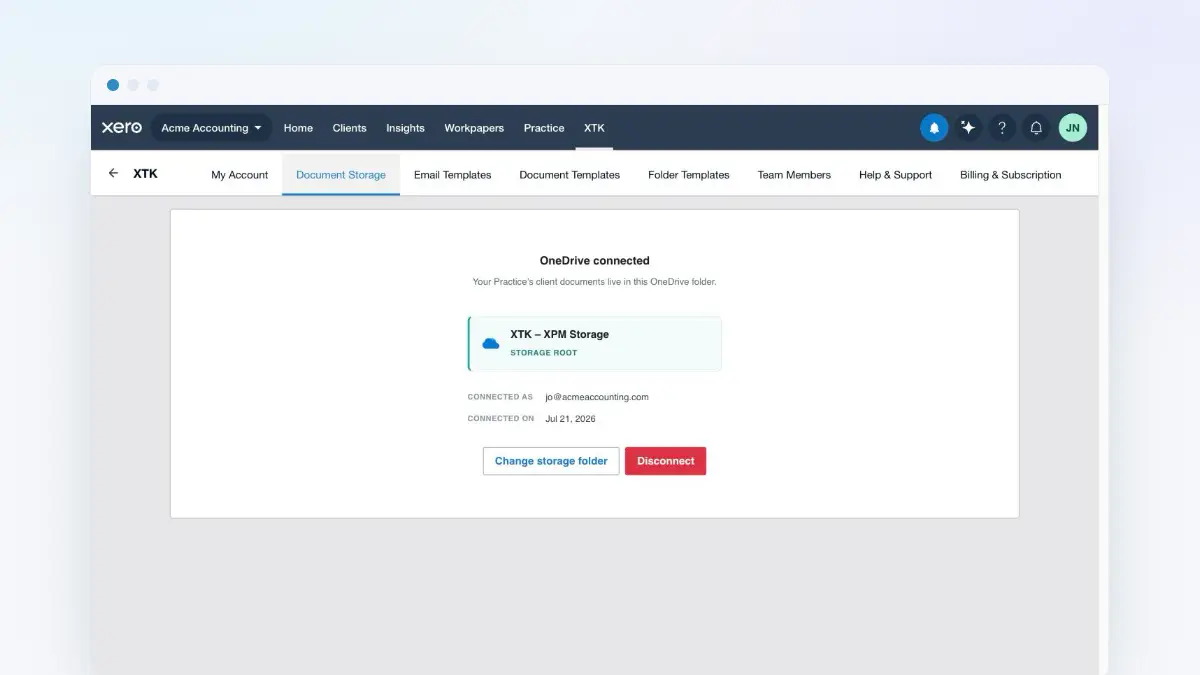
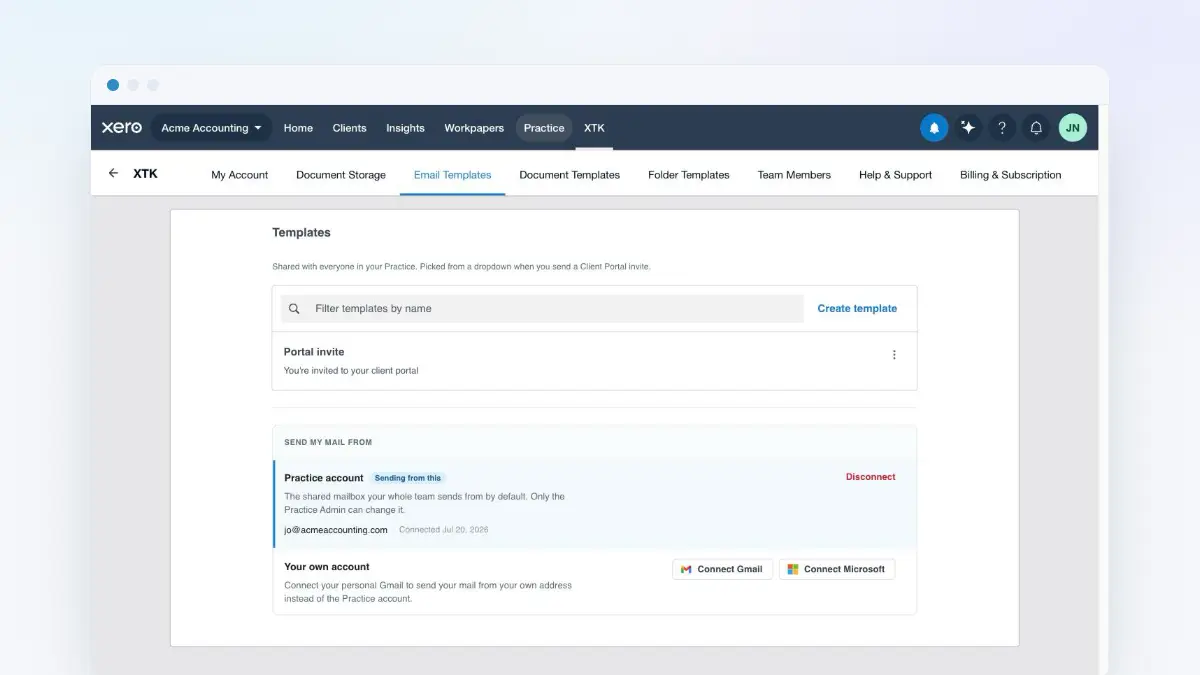
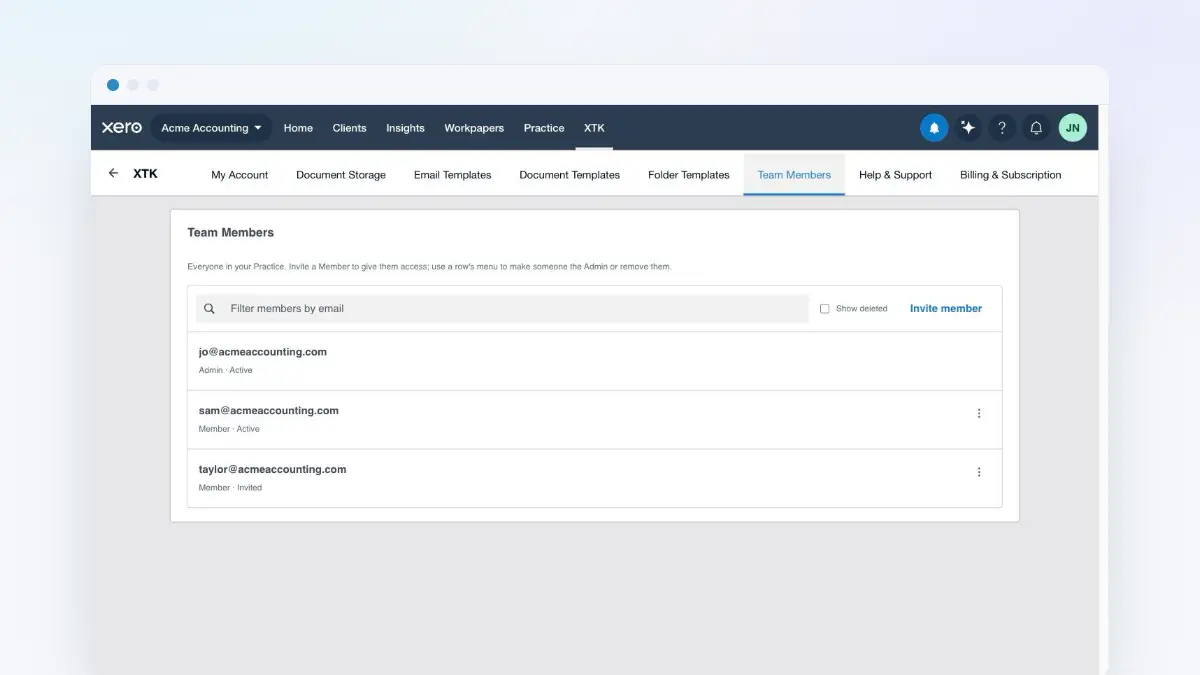
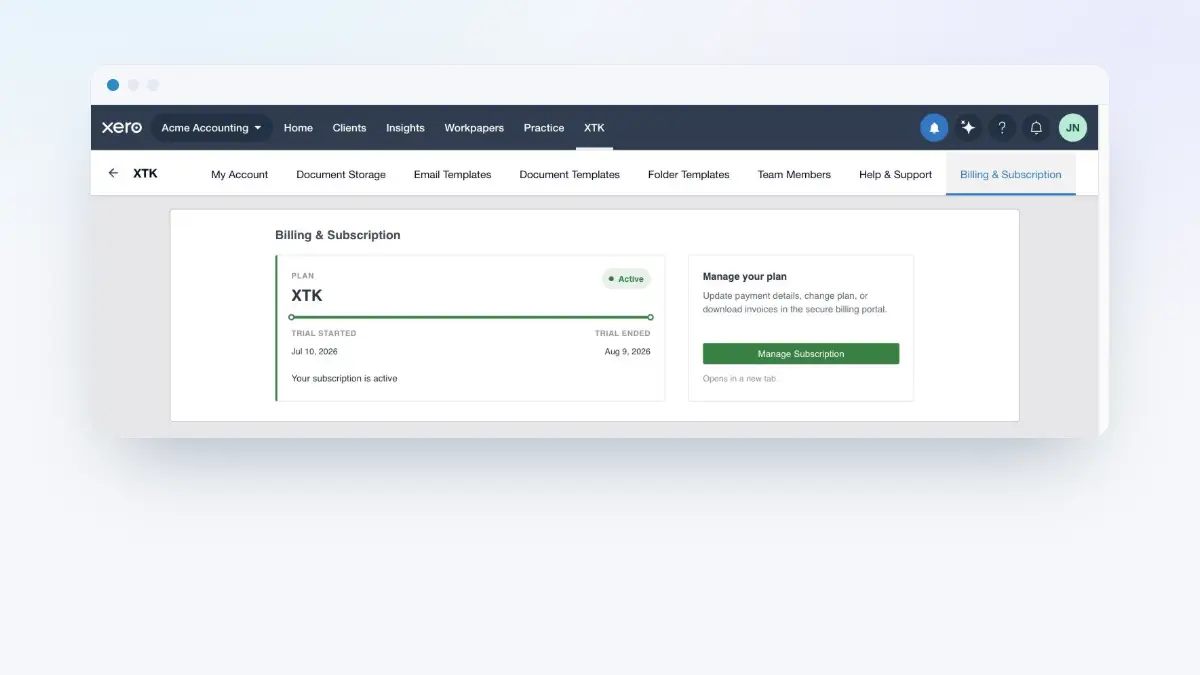
- The XTK launcher is the last item in Practice Manager's main navigation. It opens the full-page XTK panel, home to Document Storage, Email Templates, Team Members, Billing, My Account and Help & Support.
- The notification bell is the first icon in Practice Manager's top-right tools row — separate from Xero's own bell — and collects XTK activity such as completed signatures and client uploads.
- On every client page, three new tabs appear: Documents, Signatures and Client Portal. XTK's Documents tab replaces Xero's native one, which is hidden while the extension is active.
The banner, the launcher and the bell follow you onto Practice Manager's older pages too — the job and quote screens, which Xero serves from a different address. Those two pages get a Documents tab of their own as well: see job documents and quote documents.
The XTK icon in your browser toolbar is a status window rather than a control panel: it shows the email you're signed in with and your trial countdown, plus Upgrade and Log out buttons. Everything you actually do with XTK happens inside Practice Manager itself.
Where next
XTK is installed, but it isn't connected to anything yet. Two short setup jobs finish the picture: connect your document storage (Google Drive, OneDrive or SharePoint — an Admin-only job, and the one to do first), then connect your email so XTK can send portal invites and document requests on your behalf.
Frequently asked questions
Does XTK need access to my Xero account?
No. XTK never asks you to authorise it with Xero and has no server-side access to your Xero data. It reads client details live inside your own signed-in Practice Manager tab, and only on practicemanager.xero.com — the extension does nothing on any other website.
When does the 30-day free trial start?
When you click the verification link in your email — not when you submit the registration form. The trial covers your whole practice, and no payment card is needed to start it.
Does XTK work in both Chrome and Firefox?
It is built for both and behaves identically in each. The same extension is published in the Chrome Web Store and on Firefox Add-ons — install it in whichever browser you use for Practice Manager.
Can my whole team use XTK?
Yes — one subscription covers the whole practice. Once you're set up, the Admin can invite colleagues from the XTK panel's Team Members tab, and each person signs in with their own account.
How do I change my XTK password?
Open the XTK panel from the launcher in Practice Manager's navigation, go to My Account and choose Change password. There is no “forgot password” link on the staff sign-in page, so keep your password somewhere safe.